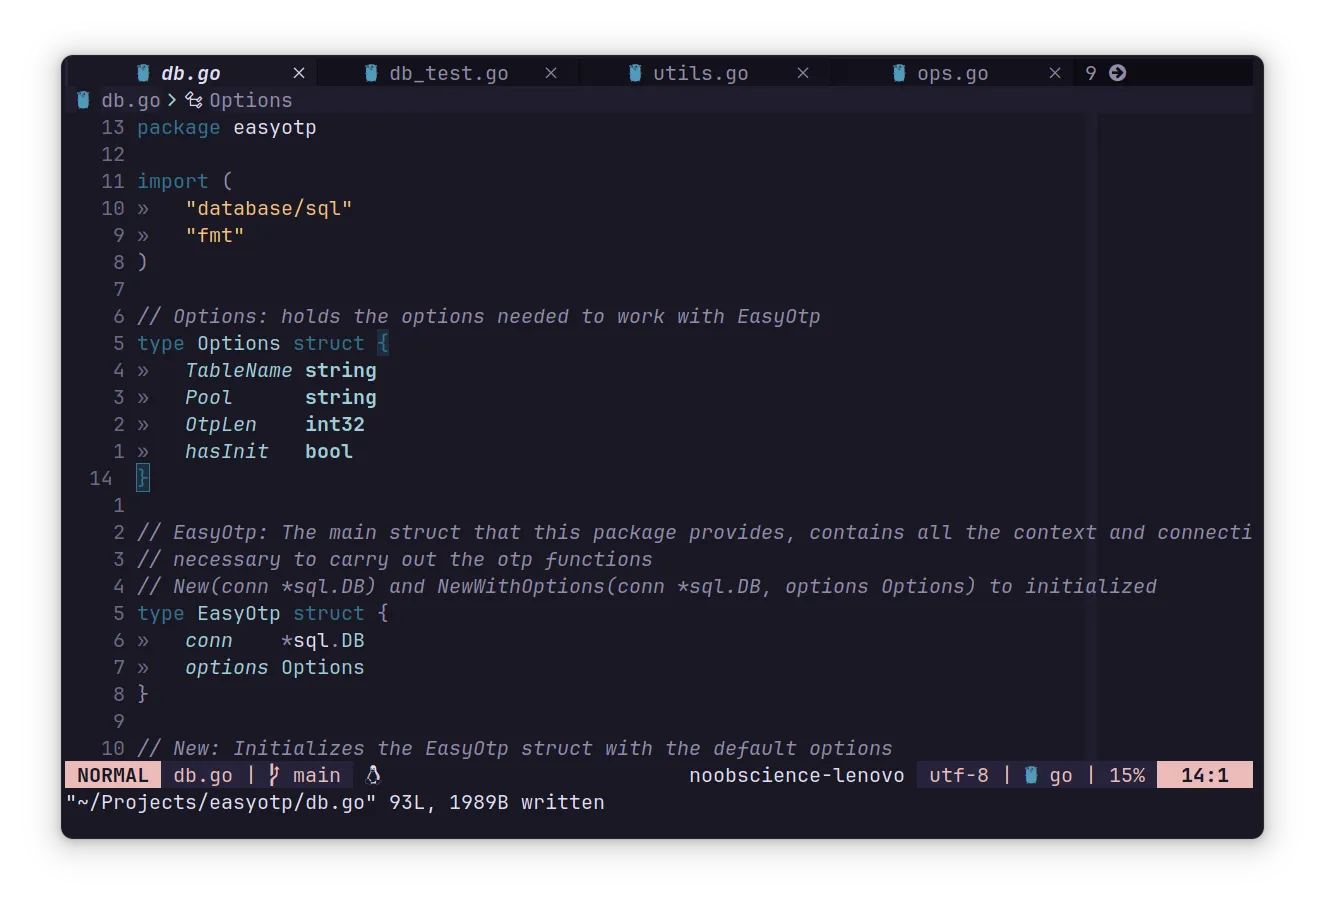
Vim oh vim.
If you don’t know (you probably wouldn’t), but I am a huge fan of all the nerdy stuff like ricing, linux and all that jazz. However, the one thing that was very apparent was that I was not using Vim. And it was not that I hadn’t tried it before, I has, but I just couldn’t get the hang of it. That is until recently and I realize the 3 mistakes that I was making.
So, this blog post is a reminder to myself and to anyone who is trying to get into Vim or anything in general.
1. Don’t Learn Something, Use It
This is great advice in general for anything that you are trying to learn. But it is especially true for Vim. I had tried to learn Vim by watching tutorials on it, copying other people’s dotfiles and trying to read the documentation. But none of that worked. It was only when I started using it for my daily tasks in Neovim that I was able to get the hang of it.
Now if you really think about it, this makes sense. All the traditional media points to the general observation that you learn by doing. And that is true for Vim as well.
In my case, I got started with vim when I was watching a Streamer called ThePrimeagen who was using Vim. I was intrigued and I started using it. He was just so fast and efficient with it while I was struggling to even open a file properly.
So, if you are still not using Vim, just start using it. It will be hard at first, but you will get the hang of it.
2. Write your own config
The most critical mistake I made in my Vim journey was to copy other people’s dotfiles. They are called dotfiles for a reason. They are personal to that user’s home directory. This applies even to the Vim config. I had copied a lot of people’s dotfiles and tried to achieve way too much way too quickly.
So here’s how I recommend you approach it instead, or atleast how it worked for me.
- Install a Vim Motions Plugin in your Editor of choice and learn vim motions. After this stage, even if you don’t want to switch to vim, no problem. Just knowing Vim motions alone is awesome.
- Now that you know Vim motions, install Neovim onto your system and start using it for small tasks. By small, I mean quite a few small tasks. One more important thing: Don’t use any plugins at this stage. Just use the default Neovim.
- Customize the Experience a bit. Donot install any plugins yet. Just change the colorscheme, the font and the line numbers, stuff like that
- Now that you are comfortable with the default Neovim, start installing plugins. But don’t go overboard. Just install a few plugins that you think you need. For me, it was
tree-sitter,telescopeandnerdtree. - LSP up baby! Now that you are comfortable with the plugins, start using LSP. This is the stage where you will start to feel the power of Neovim.
- Now that you are comfortable with LSP, start installing more plugins.
You are allowed to go overboard now. I recommend you use a package manager like
lazy-nvimin order to manage your plugins. - Tweet that you use Neovim BTW.
- Start using tmux and Neovim together. This is the stage where you will start to feel like a hacker.
- And voila! You are a Vim user that never has to leave the terminal.
3. Don’t Make Vim into VSCode
In my personal opinion, the biggest mistake that people make when they start using Vim is that they try to make it into VSCode. They install a ton of plugins, a ton of themes and a ton of other stuff that makes it into a bloated mess. This is not the way to go. Vim is supposed to be fast and meant for you to be efficient. If you are using Vim and you are not efficient, then you are doing something wrong. So, don’t make Vim into VSCode. Use it for what it is. A fast and efficient text editor.
So, these are the 3 mistakes that I made when I started using Vim. I hope that you don’t make the same mistakes that I did. If you liked this blog, be sure to share it with a noobie that is trying to get into Vim, I know I would have appreciated it when I was starting out.
— Ishan
